How to Convert a PNG to PES (What Converting Actually Means)
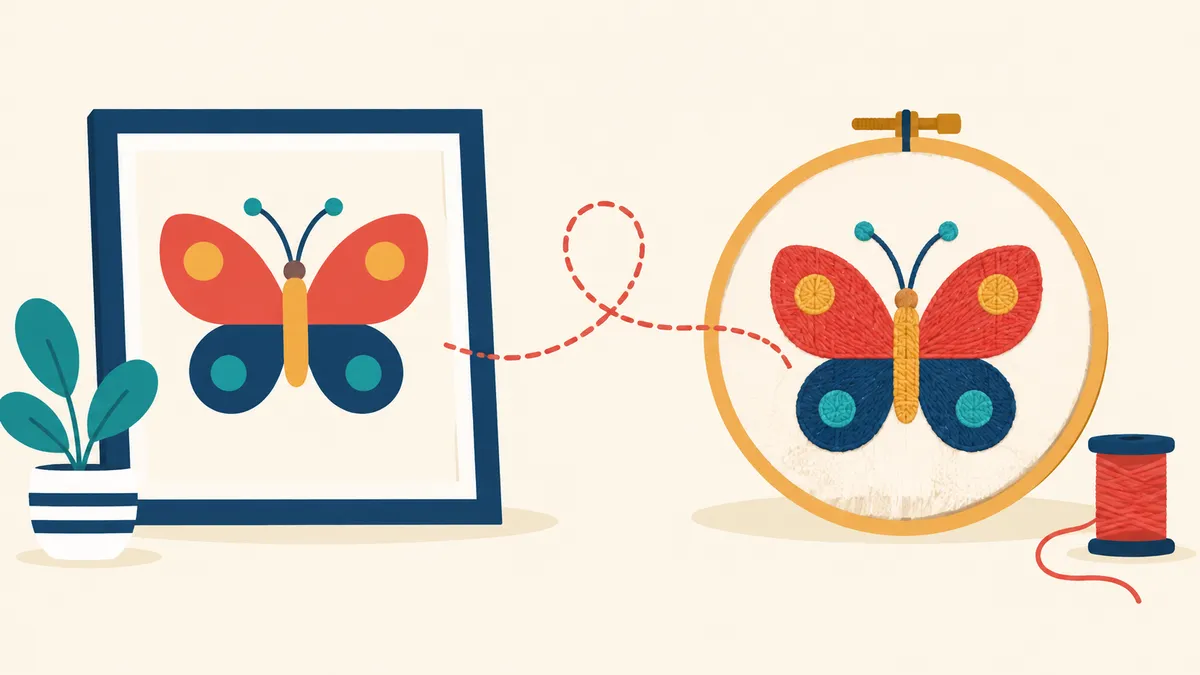
Searching "convert PNG to PES" assumes the two are the same kind of thing, like converting a Word doc to a PDF. They are not. A PNG is a grid of colored pixels. A PES is a list of stitch instructions: move the needle here, drop it, change thread, trim. Turning one into the other means deciding where every stitch goes - and that job has a name: digitizing.
What digitizing actually involves
A digitizer looks at artwork and decides how it becomes thread: which areas get fill stitches and which get satin columns, what direction the stitches run, how dense they are, what order elements sew in, and where the design needs underlay so it sits flat on fabric. Those decisions are why the same logo can sew beautifully or pucker into a mess. It is a craft, which is why good digitizing has never been free.
What auto-digitizing can and cannot do
Automated tools make those decisions with heuristics, and the results track the artwork. Clean, flat-color, high-contrast art - a simple logo, bold text, a cartoon with solid shapes - comes out surprisingly sewable. Photographs, gradients, watercolor textures, fine detail and small lettering come out rough: muddled fills, lost detail, thread nests. Community threads are full of both outcomes, including corrupted output from some converter sites, so judge any auto-digitized result by its preview and a test sew-out, not by the download button.
The routes, honestly priced
- A human digitizing service. You send the artwork, a professional digitizes it, typically for a flat fee per design. The quality is the best of any route and it is how most businesses get logos sewn.
- Learn to digitize yourself. The free route most often named in embroidery communities is Ink/Stitch, an extension for the Inkscape vector program - genuinely free and genuinely capable, with a real learning curve. Paid software runs from about $75 (SewArt) to $139 (Embrilliance Essentials) up to $1,199 and beyond for the pro suites.
- Auto-digitize and evaluate in your browser. embroiderly's Studio digitizes on your own device - the image never uploads - and shows a true stitch preview, so you can see exactly what the heuristics did to your artwork before committing to anything. One honest limit: downloading the finished file arrives with the Pro plan, which is not on sale yet, so today Studio is for previewing and judging results in the browser rather than walking out with a file.
Setting yourself up for a good result
Whatever route you pick: start from the cleanest, highest-contrast version of the artwork; simplify colors and drop fine detail before digitizing; keep the first design small in color count; and always test-sew on scrap fabric first. A preview tells you what the software decided - a sew-out tells you whether it was right.