How Much Can You Resize an Embroidery Design? The Density Problem
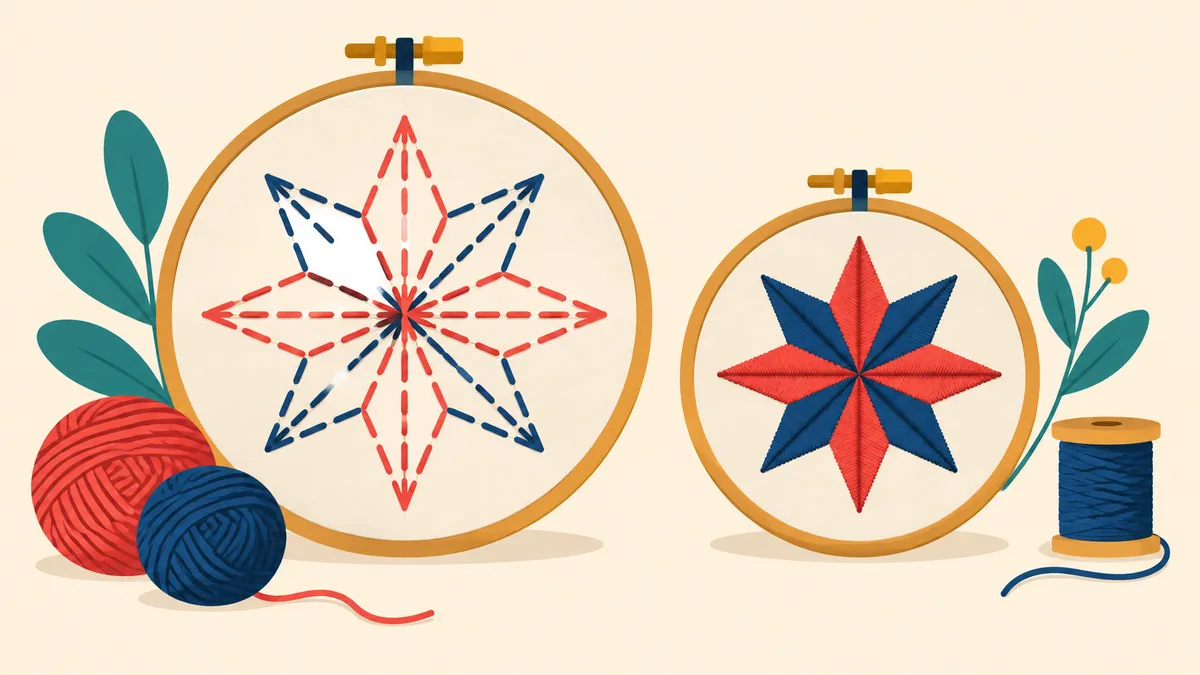
Every embroidery design has a number that matters more than its width or height: its density, how closely the stitches sit together. Density is set when the design is digitized. And it is the reason resizing a finished embroidery file is not like resizing a photo.
Why resizing a stitch file is different
When a digitizer exports a PES or DST, the design becomes a fixed list of stitches: this many needle drops, in these places. Resize that file and no software adds or removes stitches - it just moves the same stitches closer together or further apart. Shrink a design 25 percent and the same thread crams into three quarters of the space: the design turns stiff and lumpy, the fabric puckers, and needles start breaking. Enlarge it 25 percent and the stitches spread thin: fabric shows through, edges go ragged, satin columns turn into loose loops. The stitch count on screen stays exactly the same, which is what fools people.
The 10 percent rule of thumb
The guideline experienced embroiderers repeat in community threads is to keep resizing of a finished stitch file within about 10 percent in either direction - and to treat that as a rule of thumb, not a guarantee. A simple, open design might survive 15 or 20 percent; a dense, detailed one can suffer at 10. This is also why design shops sell the same pattern in three or four sizes instead of telling you to scale it: each size was digitized for its dimensions.
What about the resize button on the machine?
Most machines offer on-screen resizing, and it follows the same physics - the machine moves the fixed stitches, it does not recalculate them. It is fine for small nudges to fit a hoop, and the same rule of thumb applies. Brother's own documentation describes size and density adjustment for its software (How to change the size and density of an embroidery pattern), which is where real density changes happen: at the digitizing stage, where stitches are recalculated rather than moved.
When you need a bigger change: re-digitize
Past that small adjustment range, the honest options are re-digitizing (letting software or a digitizer generate new stitches for the new size) or getting the design in the size you need. If you are evaluating a resize, a browser converter makes the trade-off visible: embroiderly's Convert page reads pes, pec, dst and exp files on your device, and its resize control shows the new dimensions and the unchanged stitch count as you drag - when the size drops 30 percent and the count does not move, you can see the density problem before it costs you fabric.
Always test after resizing
Any resized file, from any tool including the machine itself, earns a test sew-out on scrap of the same fabric. Watch for puckering (too dense) and show-through (too sparse), and let the sew-out - not the screen - make the final call.