What Is Embroidery Digitizing? How an Image Becomes Stitches
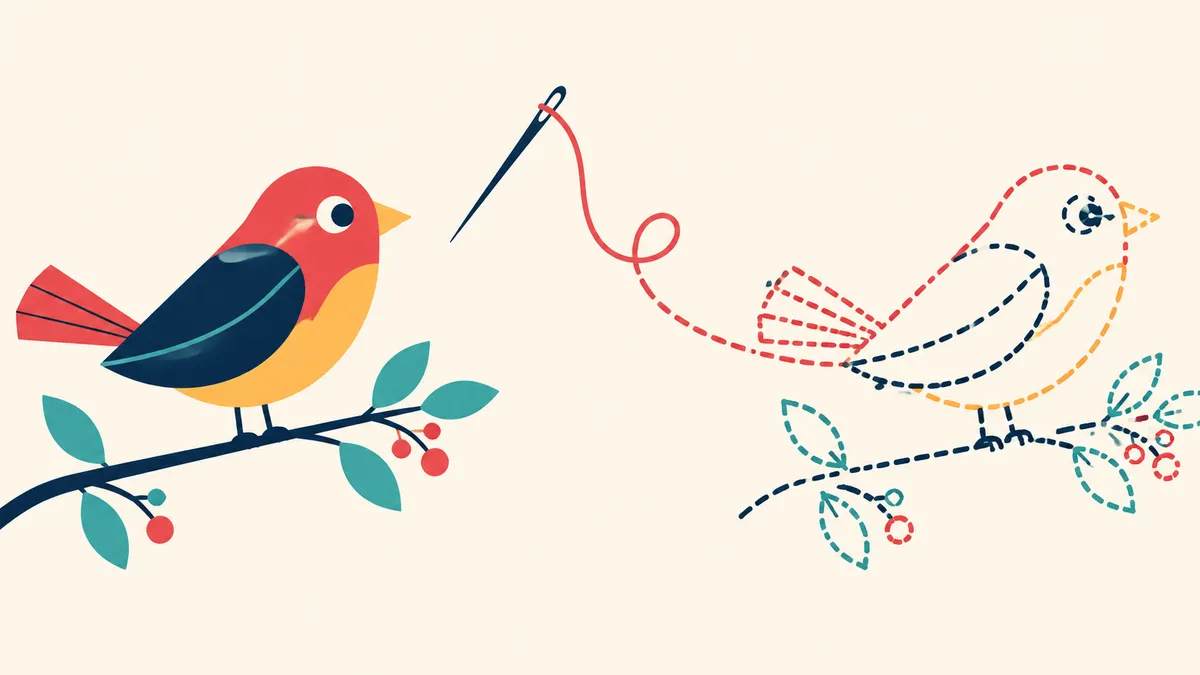
Every embroidered logo starts life as an ordinary image: a PNG from a designer, a scanned sketch, a piece of clip art. An embroidery machine cannot use that image as-is. It needs a list of needle commands: move here, stitch, change color, trim. Turning artwork into that list is called digitizing, and it is the step that decides whether your design sews cleanly or turns into a bird's nest of thread.
What a digitizer actually does
Digitizing is not file conversion. A digitizer looks at your artwork and makes a series of decisions: which shapes become which stitch types, in what order the machine sews them, how dense the stitches are, and where the thread changes. The classic manual workflow shows how much craft is involved. In the open-source Ink/Stitch toolchain, for example, you prepare or trace your artwork into clean vector shapes, simplify the paths, then assign stitch types and settings shape by shape before anything is sewn.
The stitch types themselves are the vocabulary of the craft. A running stitch follows a line and suits outlines and small details. A bean stitch repeats the running stitch for a thicker line. A satin column zigzags between two boundary lines and is the standard choice for borders, lettering, and narrow shapes. Fill stitches cover larger areas. Choosing among them, and getting the order and density right, is what people mean when they say digitizing is a skill.
What auto-digitizing does differently
Auto-digitizing lets software make those decisions for you. It has been a feature of desktop embroidery programs for years: Brother's PE-DESIGN 11 includes a Stitch Wizard that builds an embroidery pattern from a digital camera photo, a scanned illustration, or clip art, with conversion methods for standard designs, cross stitch, and photo-style stitching. Wilcom's EmbroideryStudio supports automatic and semi-automatic digitizing of both bitmap images and vector graphics.
The catch, which Wilcom's own documentation states plainly, is that the quality of the result depends heavily on the type and quality of the original artwork. Vector graphics resize cleanly; bitmap images pixelate and degrade when scaled. Auto-digitizing works best on clean, high-contrast artwork with a manageable number of colors: logos, icons, simple illustrations. A busy photograph will convert, but the result needs judgment, and usually cleanup, before it is worth sewing.
Why people pay for it
Because good digitizing takes practice, a small industry does it for you. Threadizers, for example, lists manual digitizing from $10 per design for logos and left-chest artwork with a 12 to 24 hour turnaround, and Absolute Digitizing uses stitch-based pricing with a $20 minimum order and a 4 to 12 hour standard turnaround, with prices rising for complex artwork. Either way, that is money and a wait every time you want to try an idea. It is also why so many designs exist only as one person's file: somebody paid to have it made once.
Doing it yourself, in a browser
embroiderly takes the auto-digitizing route and puts it in your browser. Drop in a PNG, JPG, or SVG and the studio converts it to stitches on your own device, then shows you a true stitch preview rendered from the actual stitch list, not a mockup. Your image stays on this device unless you choose to save a design to your account. You can adjust colors, hoops, and lettering and watch the preview update before anything touches your machine.
The studio exports the formats home machines read, including PES and DST. Design downloads are not available yet; they arrive with the Pro plan, which is not on sale. Creating, previewing, and editing are free, and you do not need an account to try it.
One honest caveat, whichever tool you use: software can prove a file is well-formed, but it cannot prove how it sews. Test on scrap fabric before the real garment. If you are new to the file formats themselves, start with what a PES file actually is.